
Contributing to KuroWiki
Welcome to Axeon KuroWiki! This page should teach you how to write articles to contribute to the wiki, how to upload them and how to test them. KuroWiki is a community-mantained project, so we always welcome people trying to help us out!
Code of Conduct
To prevent any sort of unwanted articles or behavior, we have a code of conduct to help regulate these issues, these are needed guidelines to add, publish and modify articles.
You may not:
- add nor publish 18+/mature content to any of the articles.
- go out of topic in your article.
- modify other articles without permission.
- vandalize any of the articles.
- add false information to articles, nor make fake articles.
- cross personal boundaries, if some info gets too personal, please remove said content as of the person’s request. (this also applies to admins)
- add anything that is not related to the Axeon Network, AveryEclipse or KitSixtyFour.
Getting started
Now that you know the necessary stuff, you (like most people will do) will start making your article. This will get technical, wiking is no easy thing to do!
KuroWiki is primarily hosted on GitHub within the Axeon-Network/KuroWiki repository. KuroWiki hosts the main website, while Media hosts the articles. You need to clone the KuroWiki repository to work with it locally. As an addendum, you also need a GitHub account to upload your work.
Please do note that you need Ruby installed beforehand. If you’re on Microsoft Windows, you should use RubyInstaller. If you’re on Linux, please try to install Ruby from your package manager (such as sudo pacman -S ruby ruby-erb for distros that use Pacman, like Arch Linux). After that, install Jekyll and Bundler via gem install jekyll bundler in your favorite terminal.
Now that you’ve got the source code, create a folder named _articles in the root of the source code, and a folder names articles inside /res/img/. After that, you should try running bundle install in a console open to the source root to install missing gems, then run bundle exec jekyll server to run KuroWiki. If you want, you can append -l or -o to the command so it automatically opens KuroWiki once it has started, and it automatically reloads once you changed an article.
Creating your article
Head to the _articles folder and make a file with the .md file extension, this can be easily done in a file manager, but if you wanna have a pro coder vibe, you can also do it from a terminal or your favorite text editor. Now that you got an empty file, you will need to set up the frontmatter
The frontmatter is a small segment at the start of every article (even before the content!) that defines things about it, such as the title. It is needed by Akane (the engine behind KuroWiki) to build your article.
A good example of a frontmatter can be this:
---
title: Hello, world!
permalink: Hello,_world!
hatnote: Lorem ipsum dolor sit amet
redirect_from:
  - Hello_world!
  - Hello,world!
  - Hello,_world
  - Hello,world
---
You might wanna know what all of these parameters actually mean, well, you’re in luck!
titleis the name of your article. It can be anything!permalink(short for permanent link) is the actual URL of your article. It usually is the same as the title of the article, but it can be anything as well. Permalinks usually do not allow as many characters as titles do (such as periods or colons), but most of these can be escaped via quotation marks. Additionally, if your title has spaces, you can replace these with underscores!hatnoteis the hatnote of your page. It is a small box at the start of the article (above the title) that can hold a small note about the title. Common hatnotes are “This article is incomplete and will be finished soon.” or “Not to be confused with [subject]”.redirect_fromis very self-explanatory. It sets up redirects for your article that might help with miscellaneous things, such as correcting typos (likeAEmojitoA_Emoji), fixing dead links (likeThei5LappytoNishiLappy), or other use cases.
Included items
To help articles become more complete, KuroWiki hosts a set of items that are common within many other wikis, such as Fandom or Wikipedia. On this section, you’ll see how to use these!
Gallery
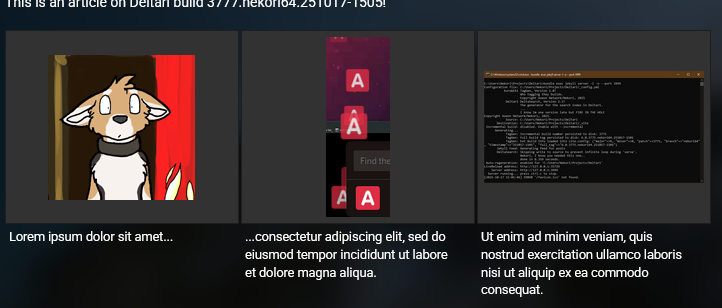
Similar to other wikis, KuroWiki also supports galleries, which are a clean and organized way to show and demo any images. In order to import this component, you’d need to use the following structure:
<div class="wiki-gallery">
{% include items/gallery.html
  image_src="res/img/articles/helloworld/untitled.png"
  caption="Lorem ipsum dolor sit amet..." %}

{% include items/gallery.html
  image_src="res/img/articles/helloworld/untitled2.webp"
  caption="...consectetur adipiscing elit, sed do eiusmod tempor incididunt ut labore et dolore magna aliqua." %}

{% include items/gallery.html
  image_src="res/img/articles/helloworld/untitled3.jpg"
  caption="Ut enim ad minim veniam, quis nostrud exercitation ullamco laboris nisi ut aliquip ex ea commodo consequat." %}
</div>
Which would output this something similar to this:
Embed
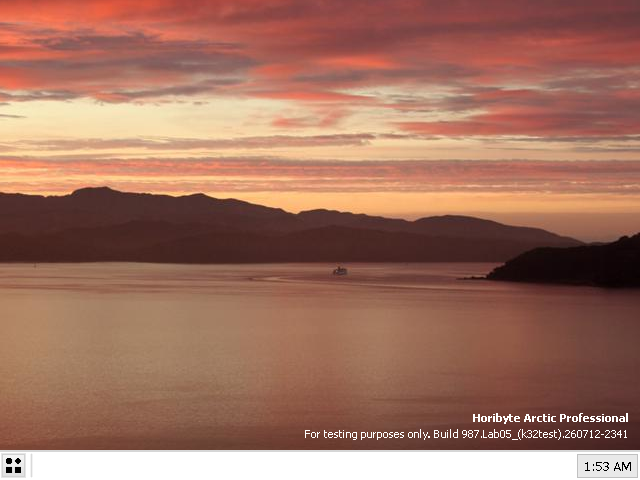
The embed item is a quick short way to put an image in your article. Unlike the gallery item, this directly embeds into the content (hence its name) and only supports one image at a time. This is useful for minor examples of the content where it is used in, such as small notes, slides, demos, or quite anything else!
To import it, use the following structure:
{% include items/embed.html
  image_src="res/img/articles/helloworld/untitled.png"
  caption="Lorem ipsum dolor sit amet..." %}
Which would output something like what you currently see! A good thing about these items is that they’re customizable! You can set left to true when including the item so it attaches to the left instead of the right. Be sure to include it before the content that you want it attached to!
Infoboxes
The infobox item is usually located on the right side of the page, and includes a quick summary of what’s presented in a specific article, similarily to other wikis.
Currently upstream Deltari/KuroWiki supports the following types of infobox: build, channel, character, site, video. Below is an example template for the build type of infobox (for the other types and allowed variables, please look at their corresponding includes files):
{% include infoboxes/build.html
family='KuroWiki'
familyurl='KuroWiki'
buildtag='6.0.3933.nekori64.251027-1830'
version='6.0'
build='3933'
lab='nekori64'
compiled='2025-10-27 18:30 UTC-6'
image='res/img/articles/horiwiki/article.png'
%}
Just like with the gallery, you can change these variables to your liking! Just make sure the infobox item is located just after the frontmatter but before the actual page content!
Hatnotes
Sumbitting your article
SpringViewer Codename "Trifrost" 3.0.5200.kuro_sl1
Debug Axeon Akane Code Name "Cairo" Release Candidate Version 7.0 (Build 5200.rc1chk.kuro_sl1.260914-2102)